This is an alternative case from the officially used Geekworm NASPi, which allows optional install of a small UPS, if desired. It also uses an NVME, but at no noticeable performance boost. You may be able to get an SSD breakout board instead. Geekworm is always adding new models.
This is also available on my substack, but I will be defaulting all my guides to this forum from now on.
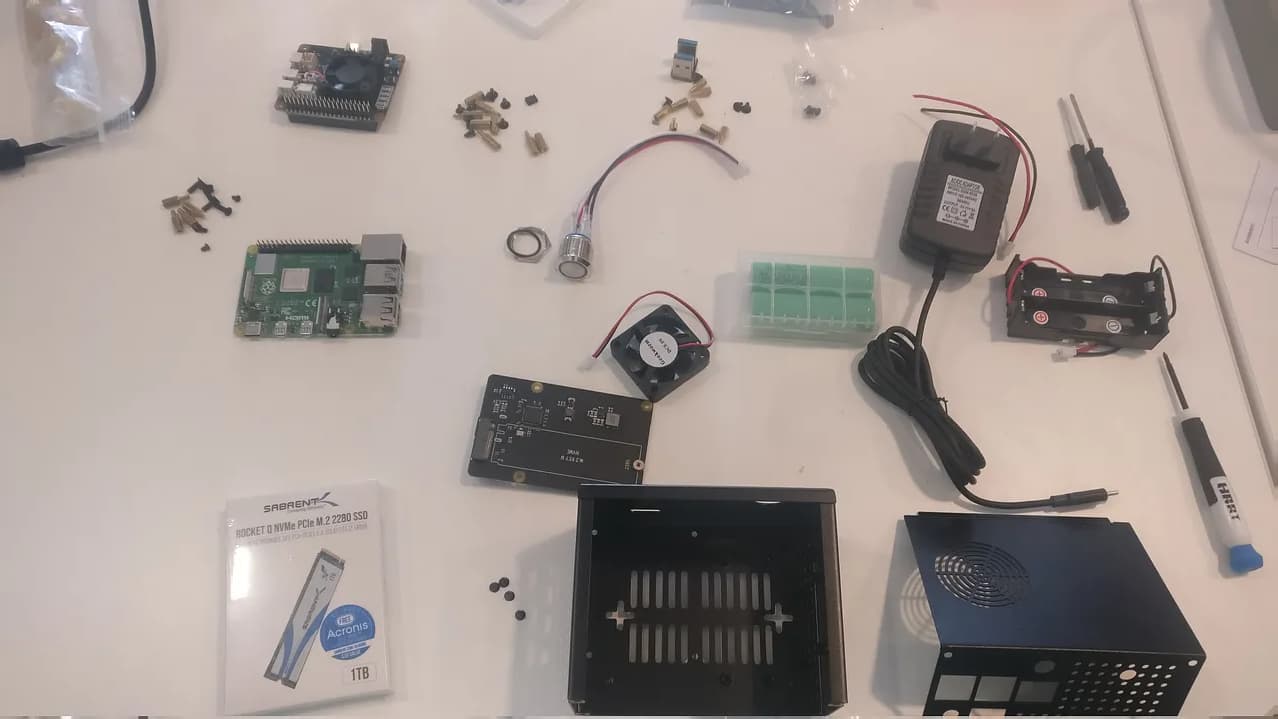
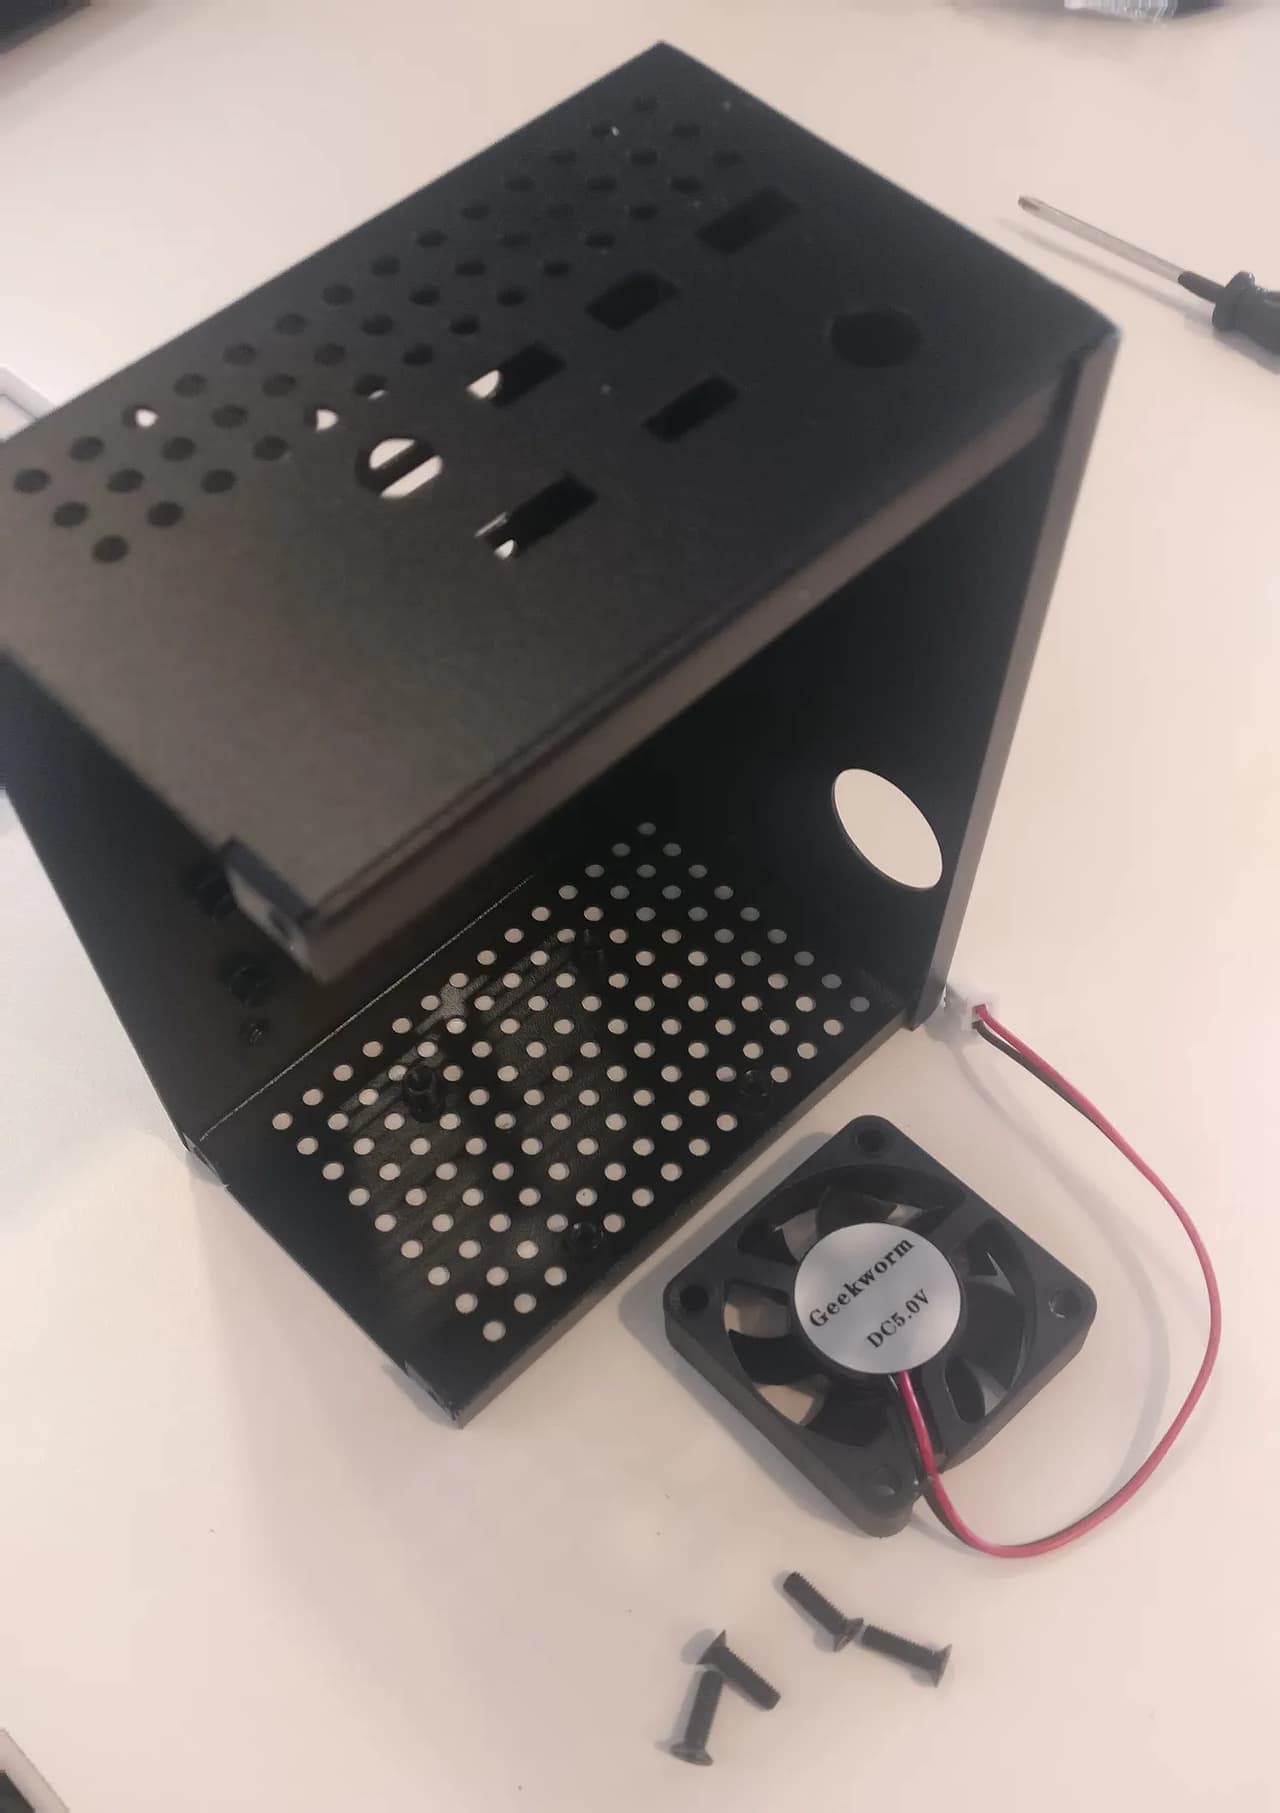
Parts list:
- Geekworm NAS case and power button (X825-C8)
- Raspberry Pi 4
- Expansion board for SSD (x873 in this example, will depend on your drive type)
- Power management board (873 in this example, for UPS, not needed if your SSD board
is powered) - 5volt / 4amp power supply (barrel plug) – I was shipped the incorrect one, ignore
photos
© 2022 Start9 Dave ∙ Privacy ∙ Terms ∙ Collection notice
Substack is the home for great writing - SSD or M.2 SSD (NVME will work, but carries no advantage for the higher cost) – 1TB or greater recommended
- 16GB microSD card (any larger is neither necessary, nor advantageous)
- Ethernet cable
- Speaker
- UPS and batteries (optional)
You’ll also need a small cross-point (phillips) screwdriver. Sometimes the kits will come with one.
- Prep
I like to unpack everything and get all my parts laid out and make sure nothing is
missing or that there won’t be an immediate problem.
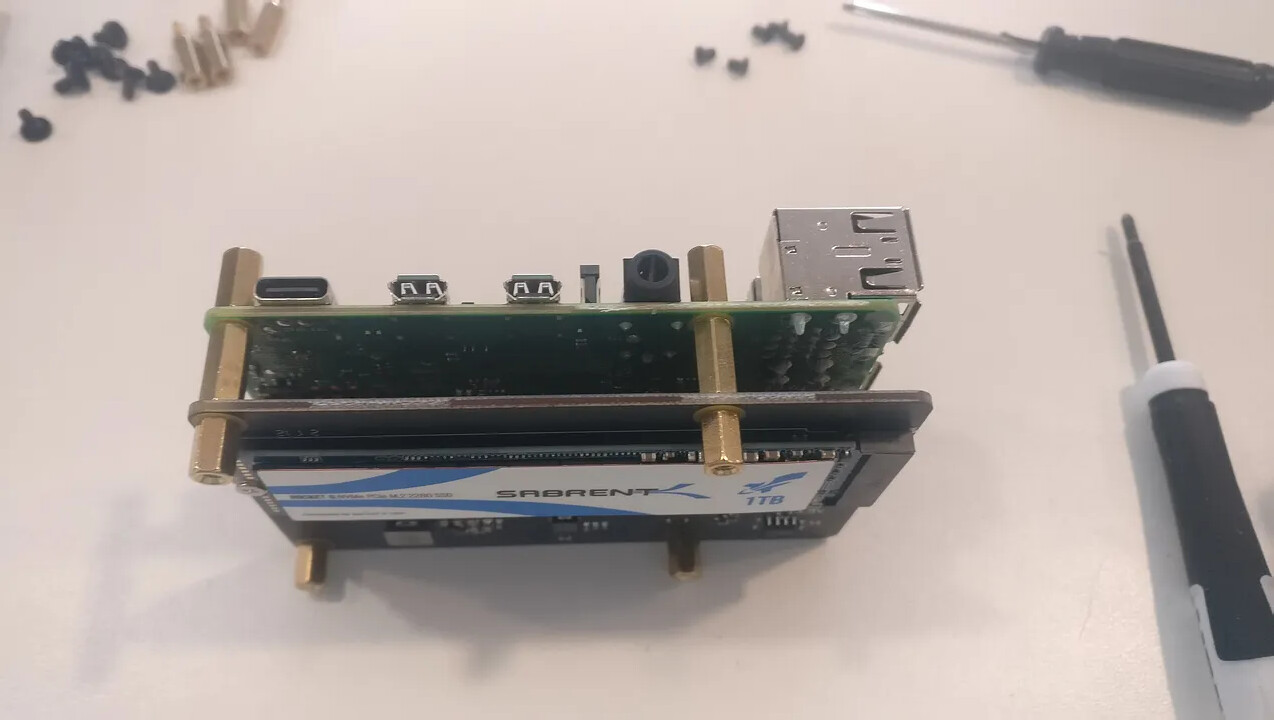
- SSD
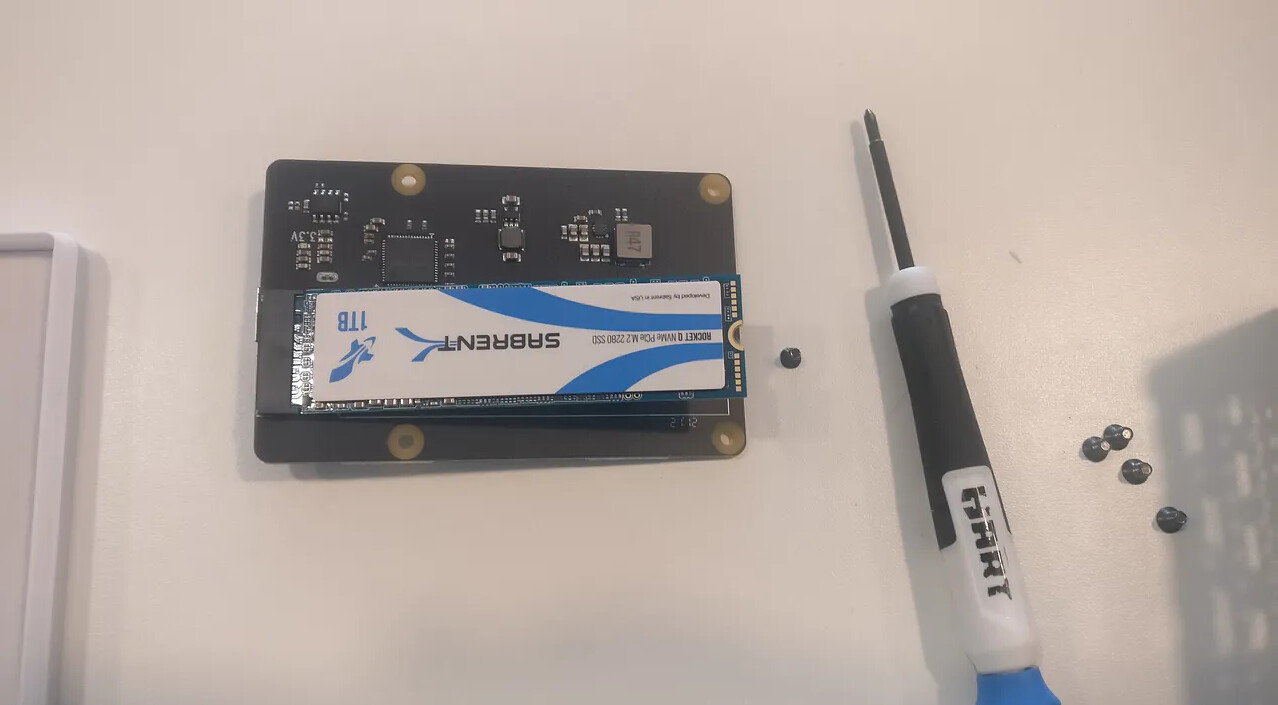
Attach drive to expansion board. Be careful not to bend the pins. In the case of the m.2
drive in the example, it slides in and then is held down with a screw. Just get the screw
snug, do not crank down! Attach gold spacers, make sure to test the sizing with the Pi,
which will go on top, then in the case to make sure the ports will line up. I didn’t do this
and had to change the spacers to get it right.

- Pi
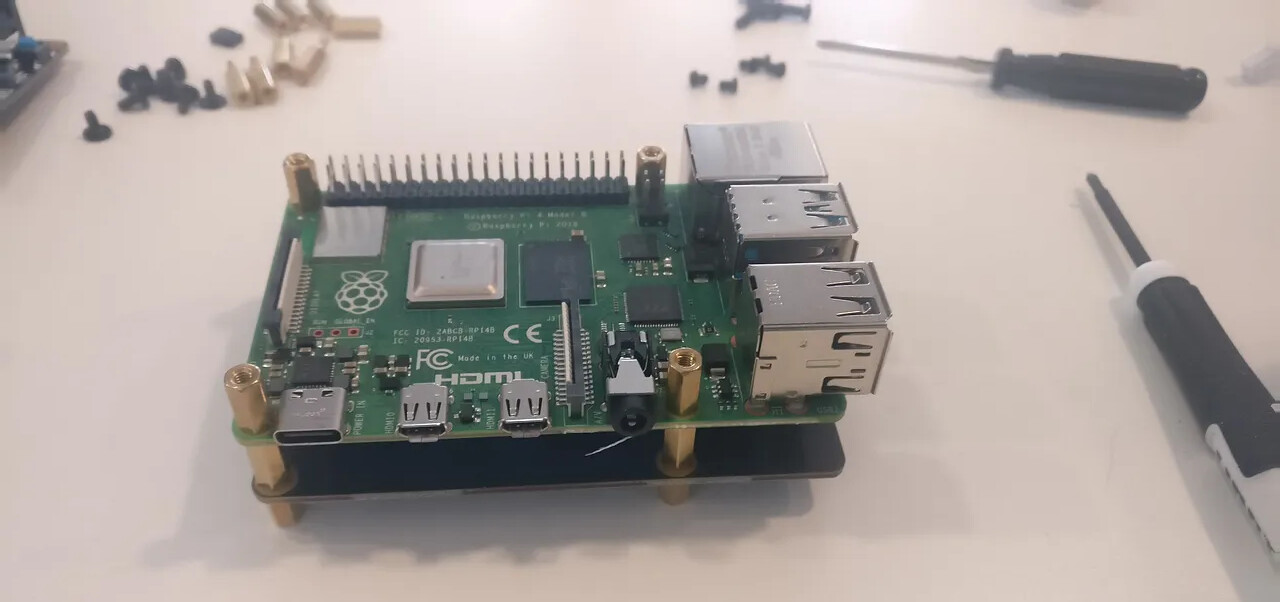
Attach the Pi using more gold spacers. Again, I grabbed the wrong ones and had to
swap them later for the correct size. You’ll know because when you go to put the power
board on top, it will not sit flush.
- Power Management Board
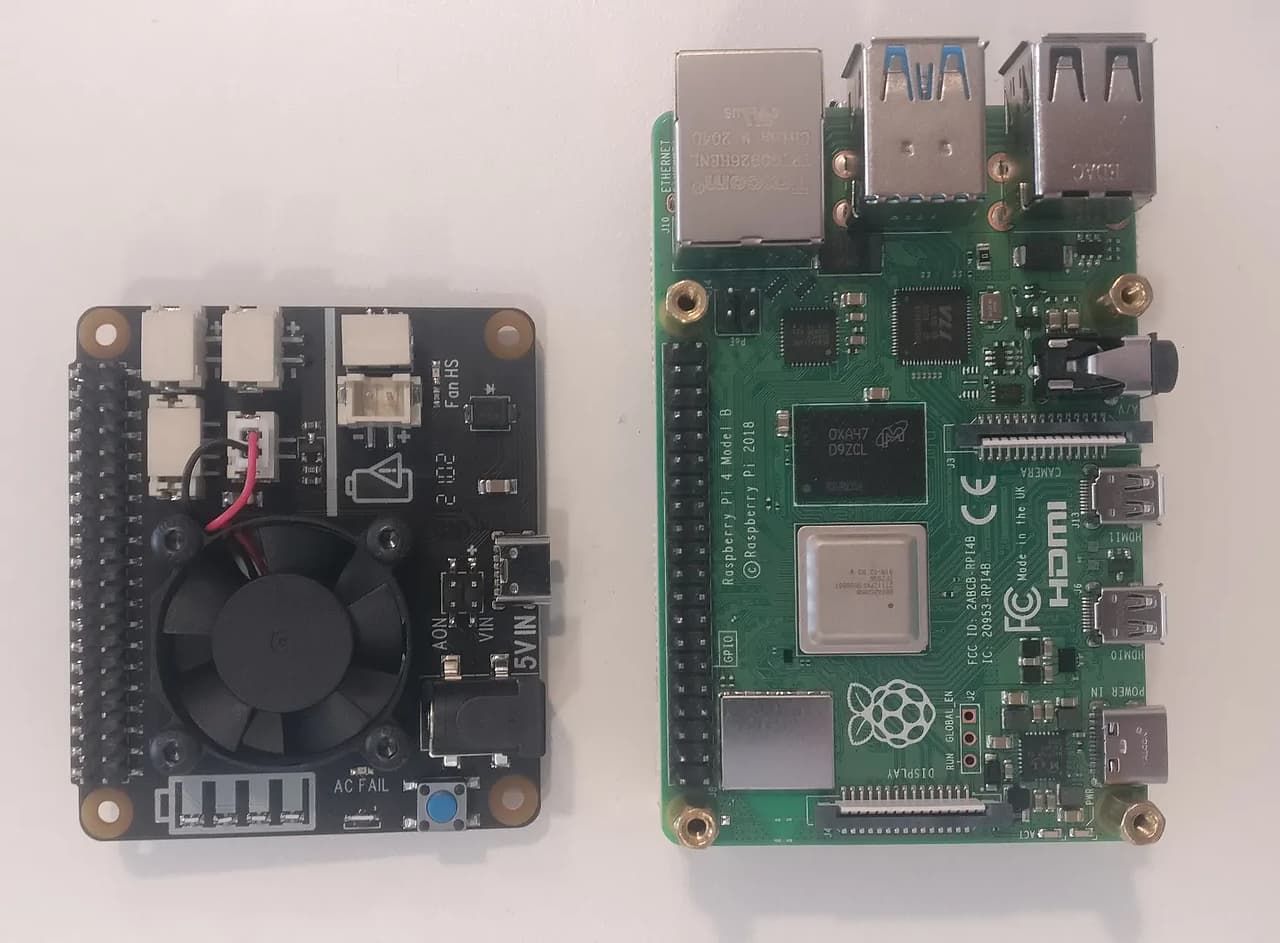
Carefully place the power board on top of the Pi, making sure the GPIO pins line up
before pushing it down. Secure with 4 black screws. In my case, these were a flat head.
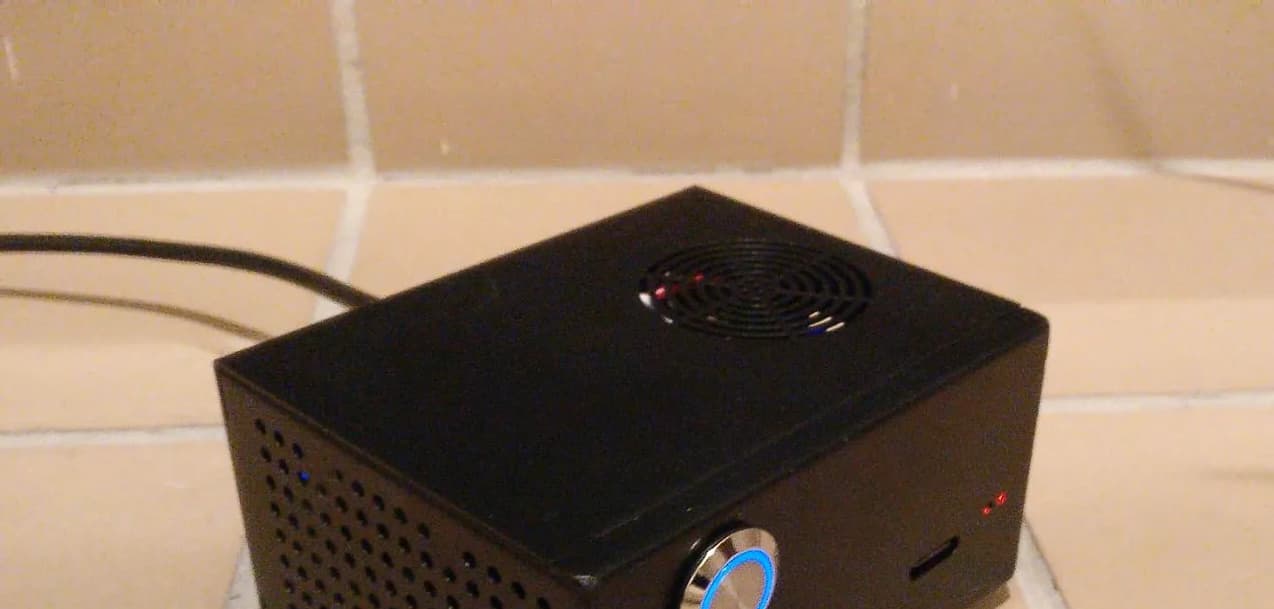
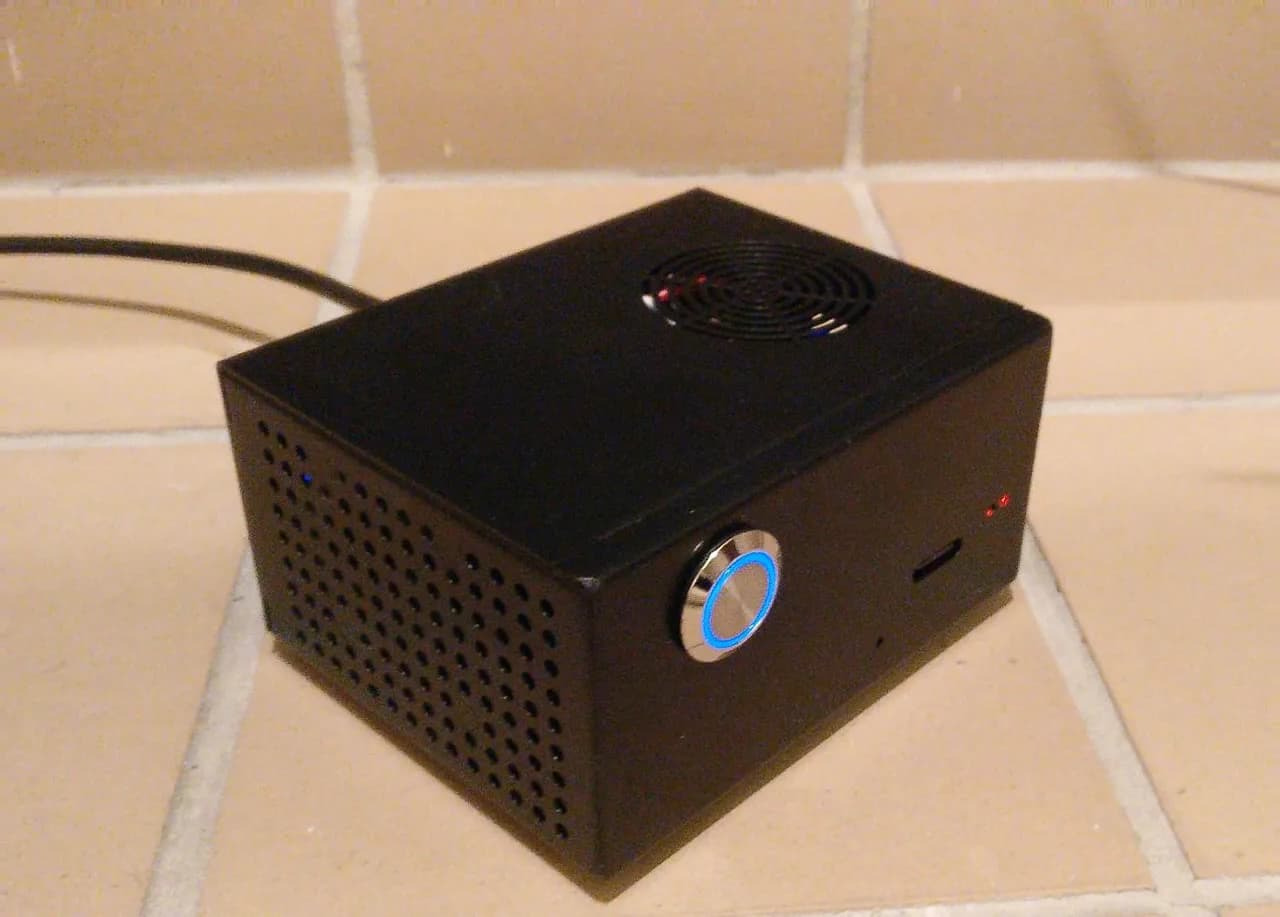
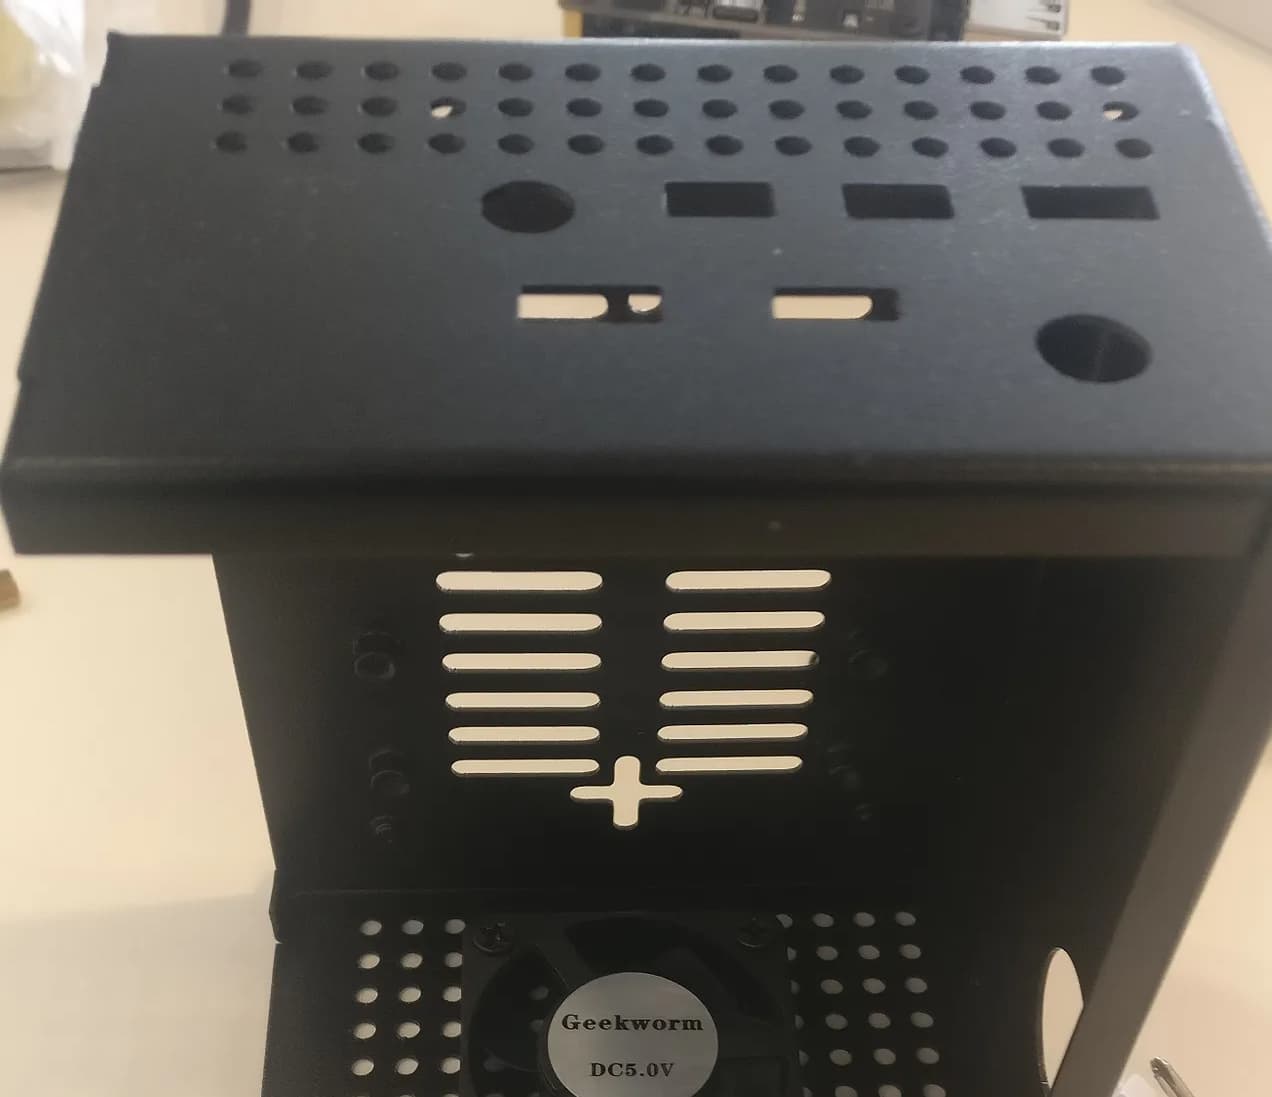
- Case

Next, let’s get the case assembled, starting with the fan. You’ll want to check for a tiny
arrow that labels the direction of airflow. Obviously we’ll need the long screws for this.
Originally, I decided to use the fan to intake air. I’ll experiment with exhausting the air
as well and see which performs better. Then install the power button. The rubber o-ring on the outside of the case, with the
nut on the inside.
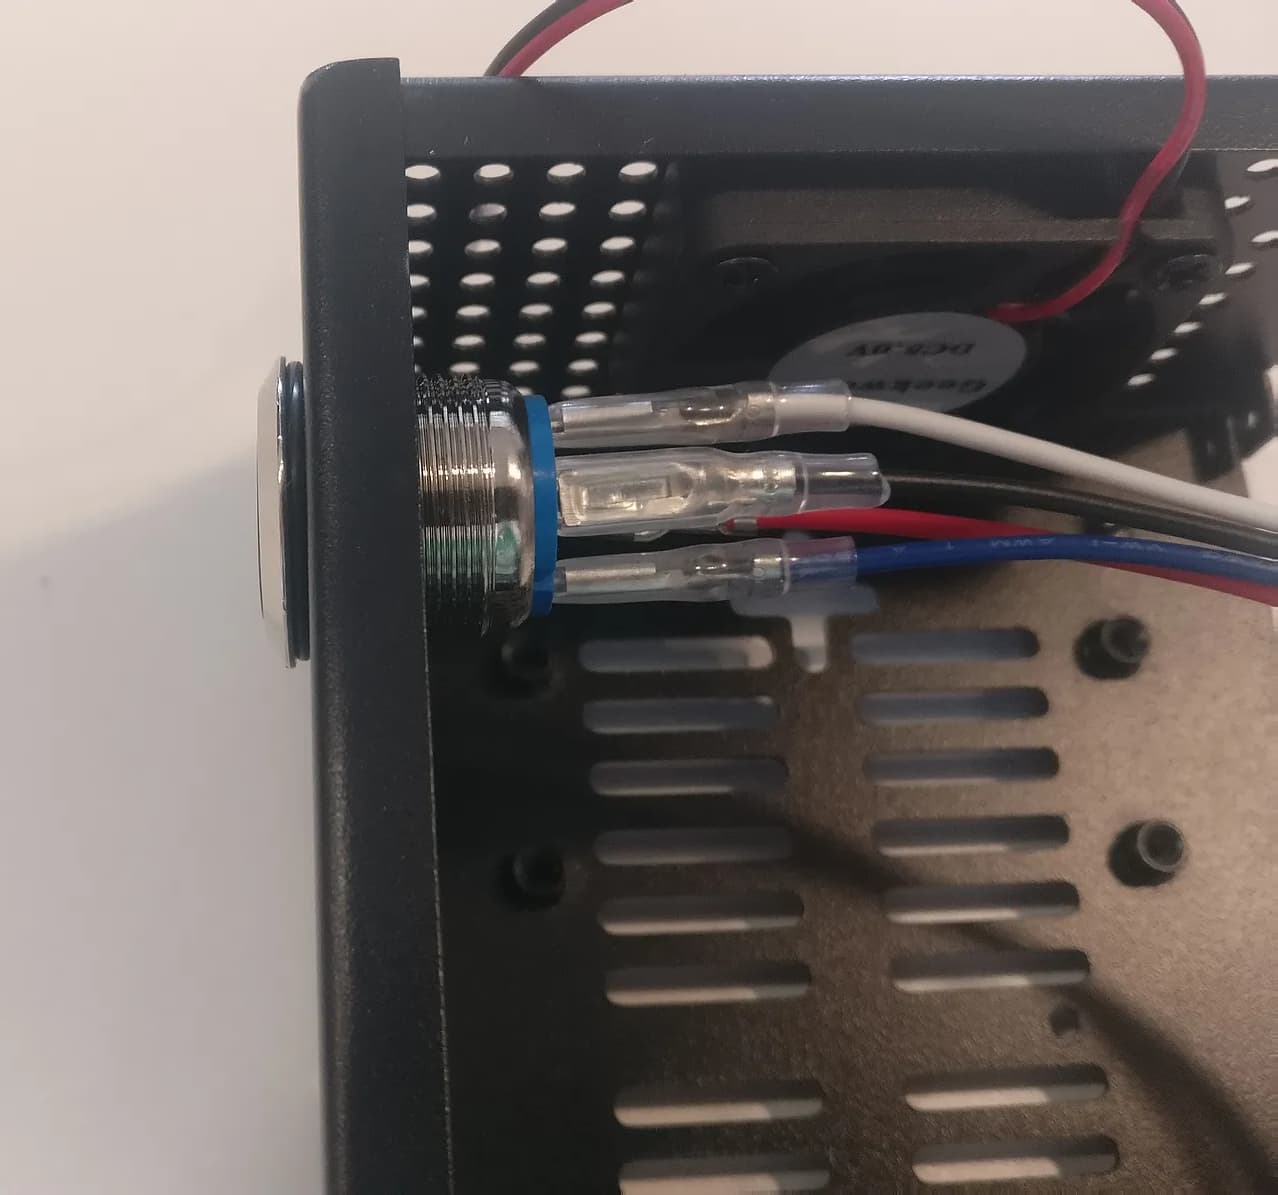
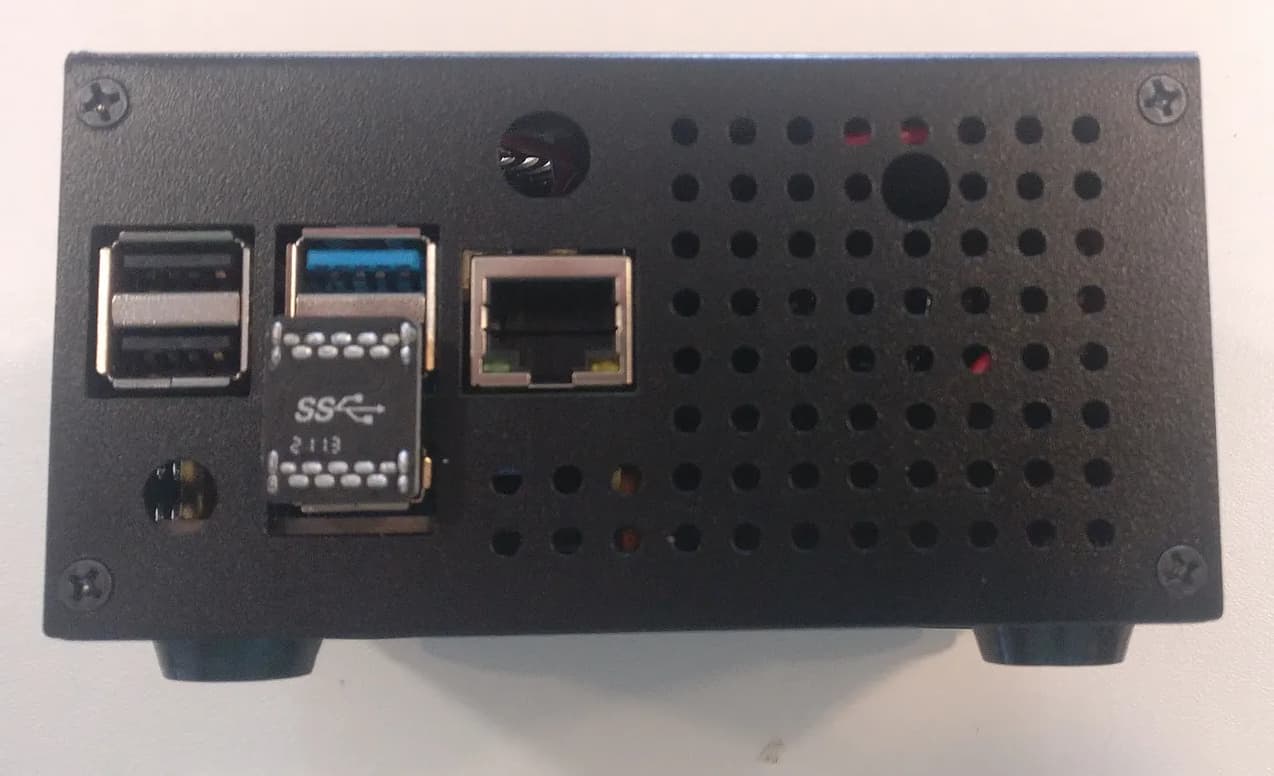
- Install Board Assembly to Case
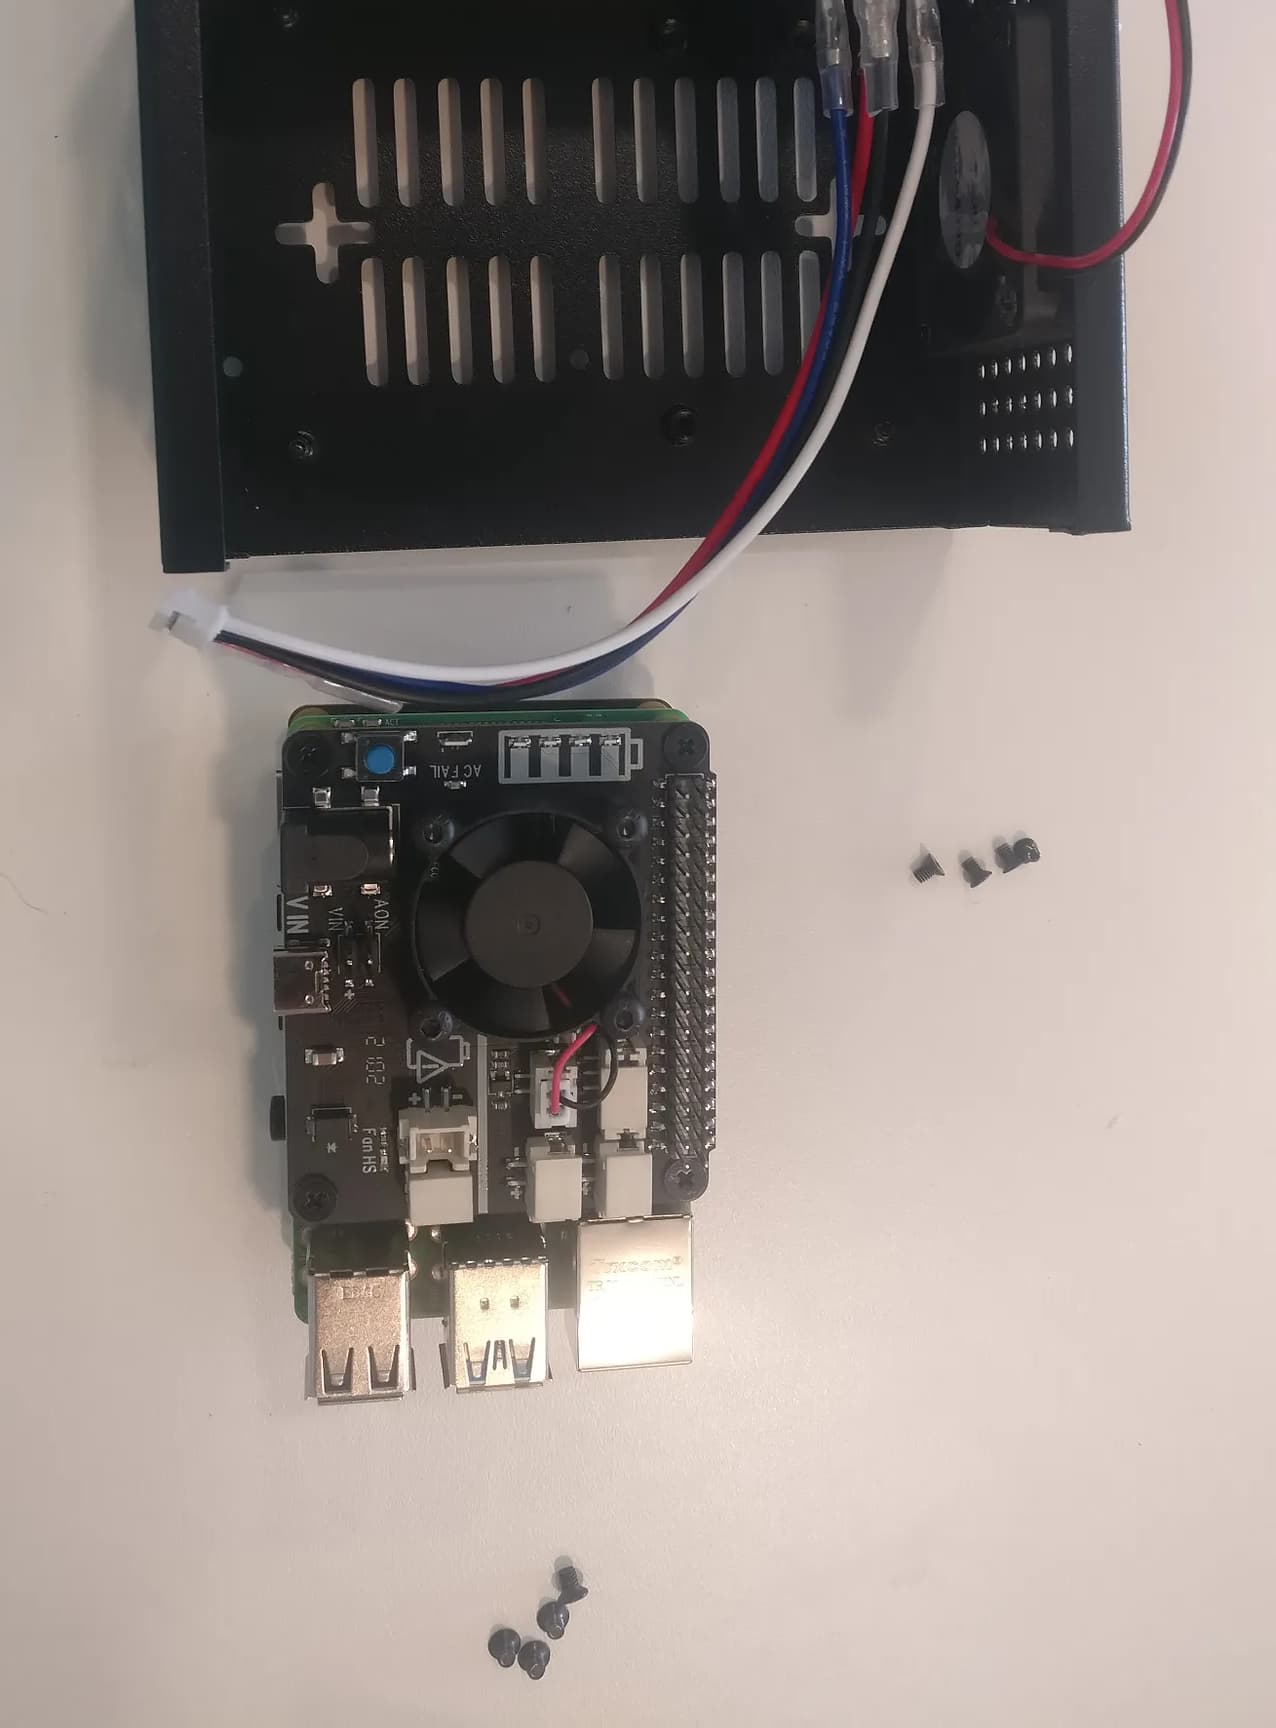
Line up the power and USB-C ports with their respective holes on the side of the case.
The USB ports will point away from the side with the power button. See images to verify
orientation.
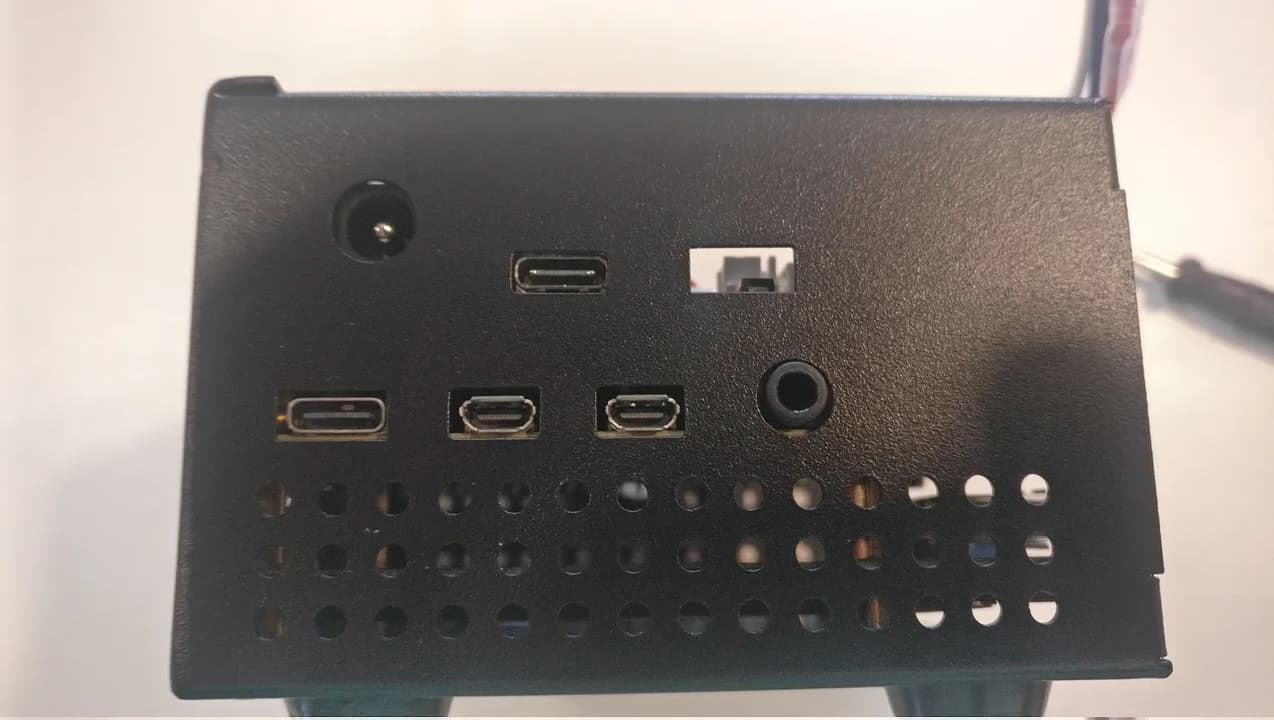
Use 4 screws to attach the board assembly at the bottom of the case.
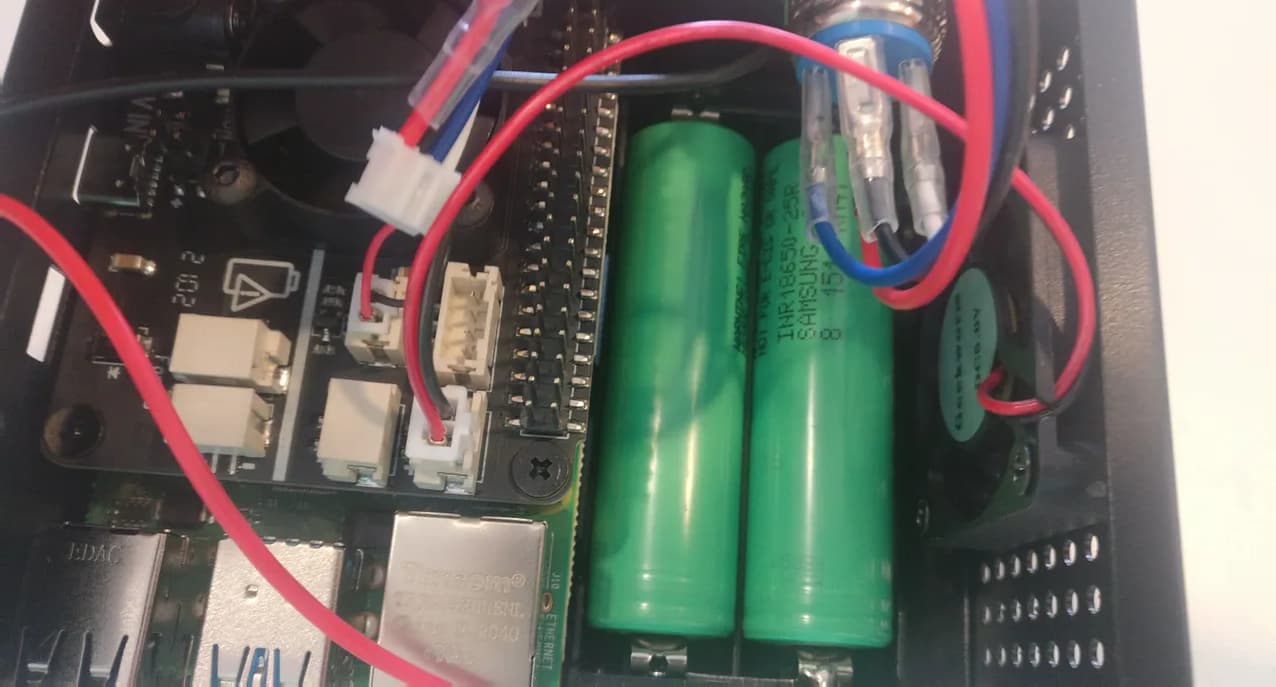
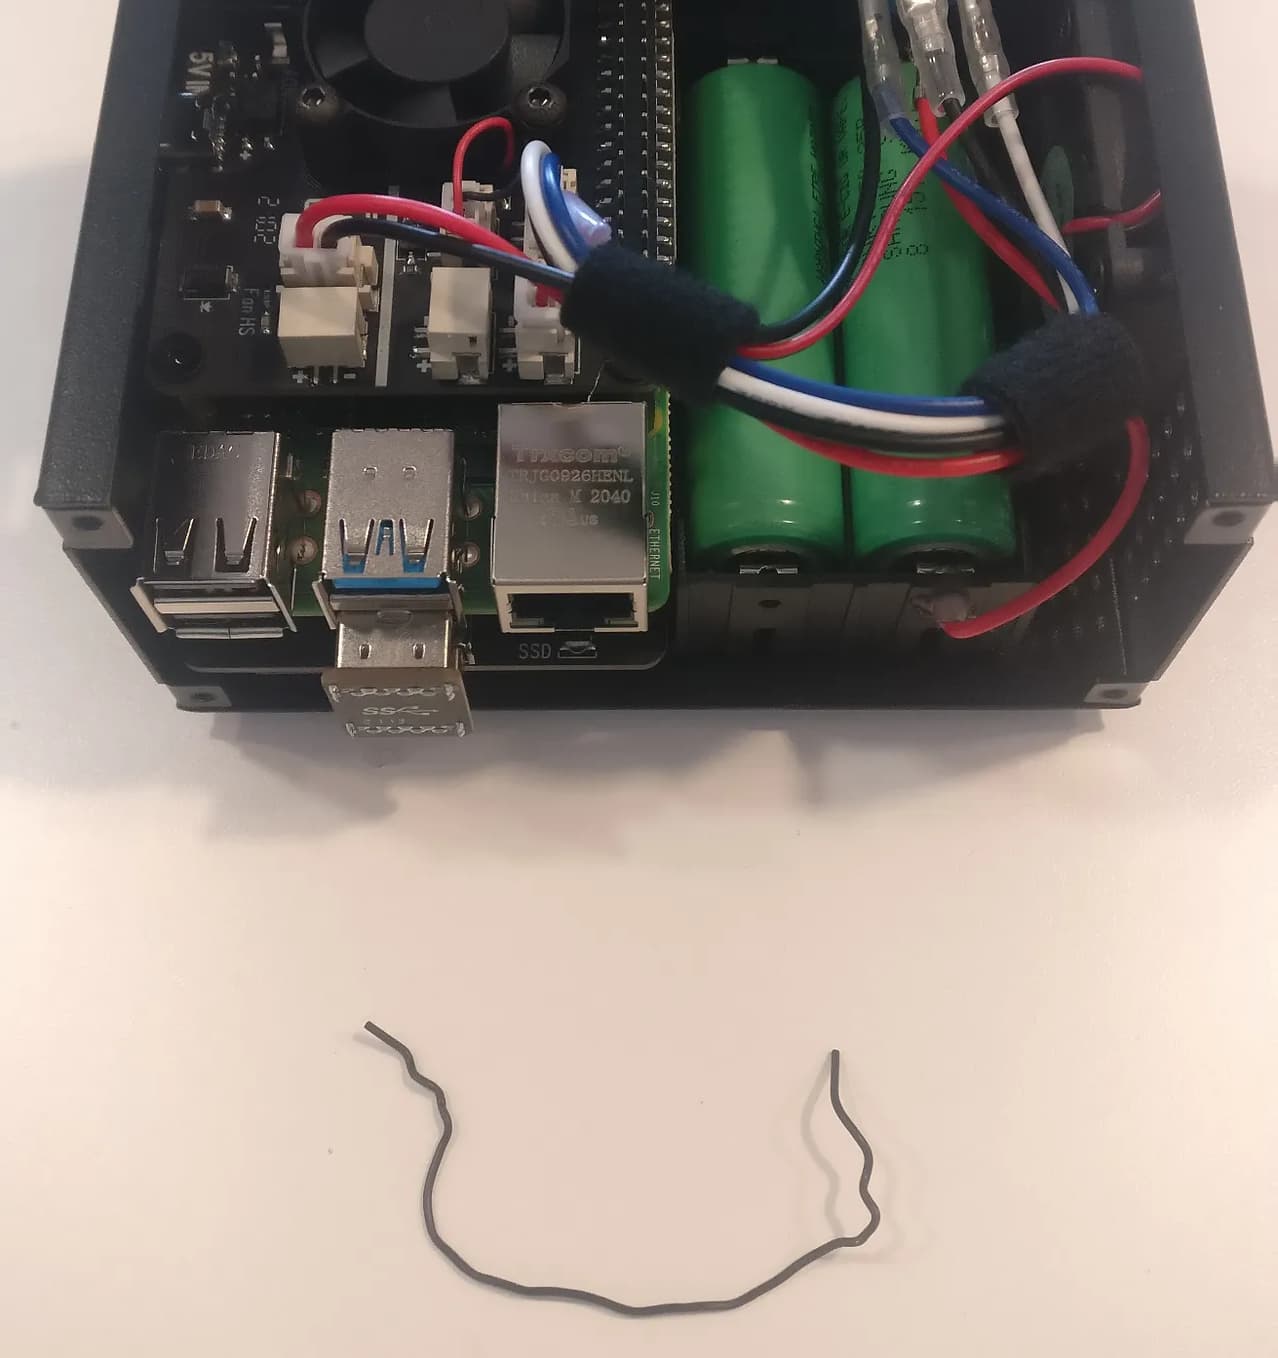
- UPS (Optional)
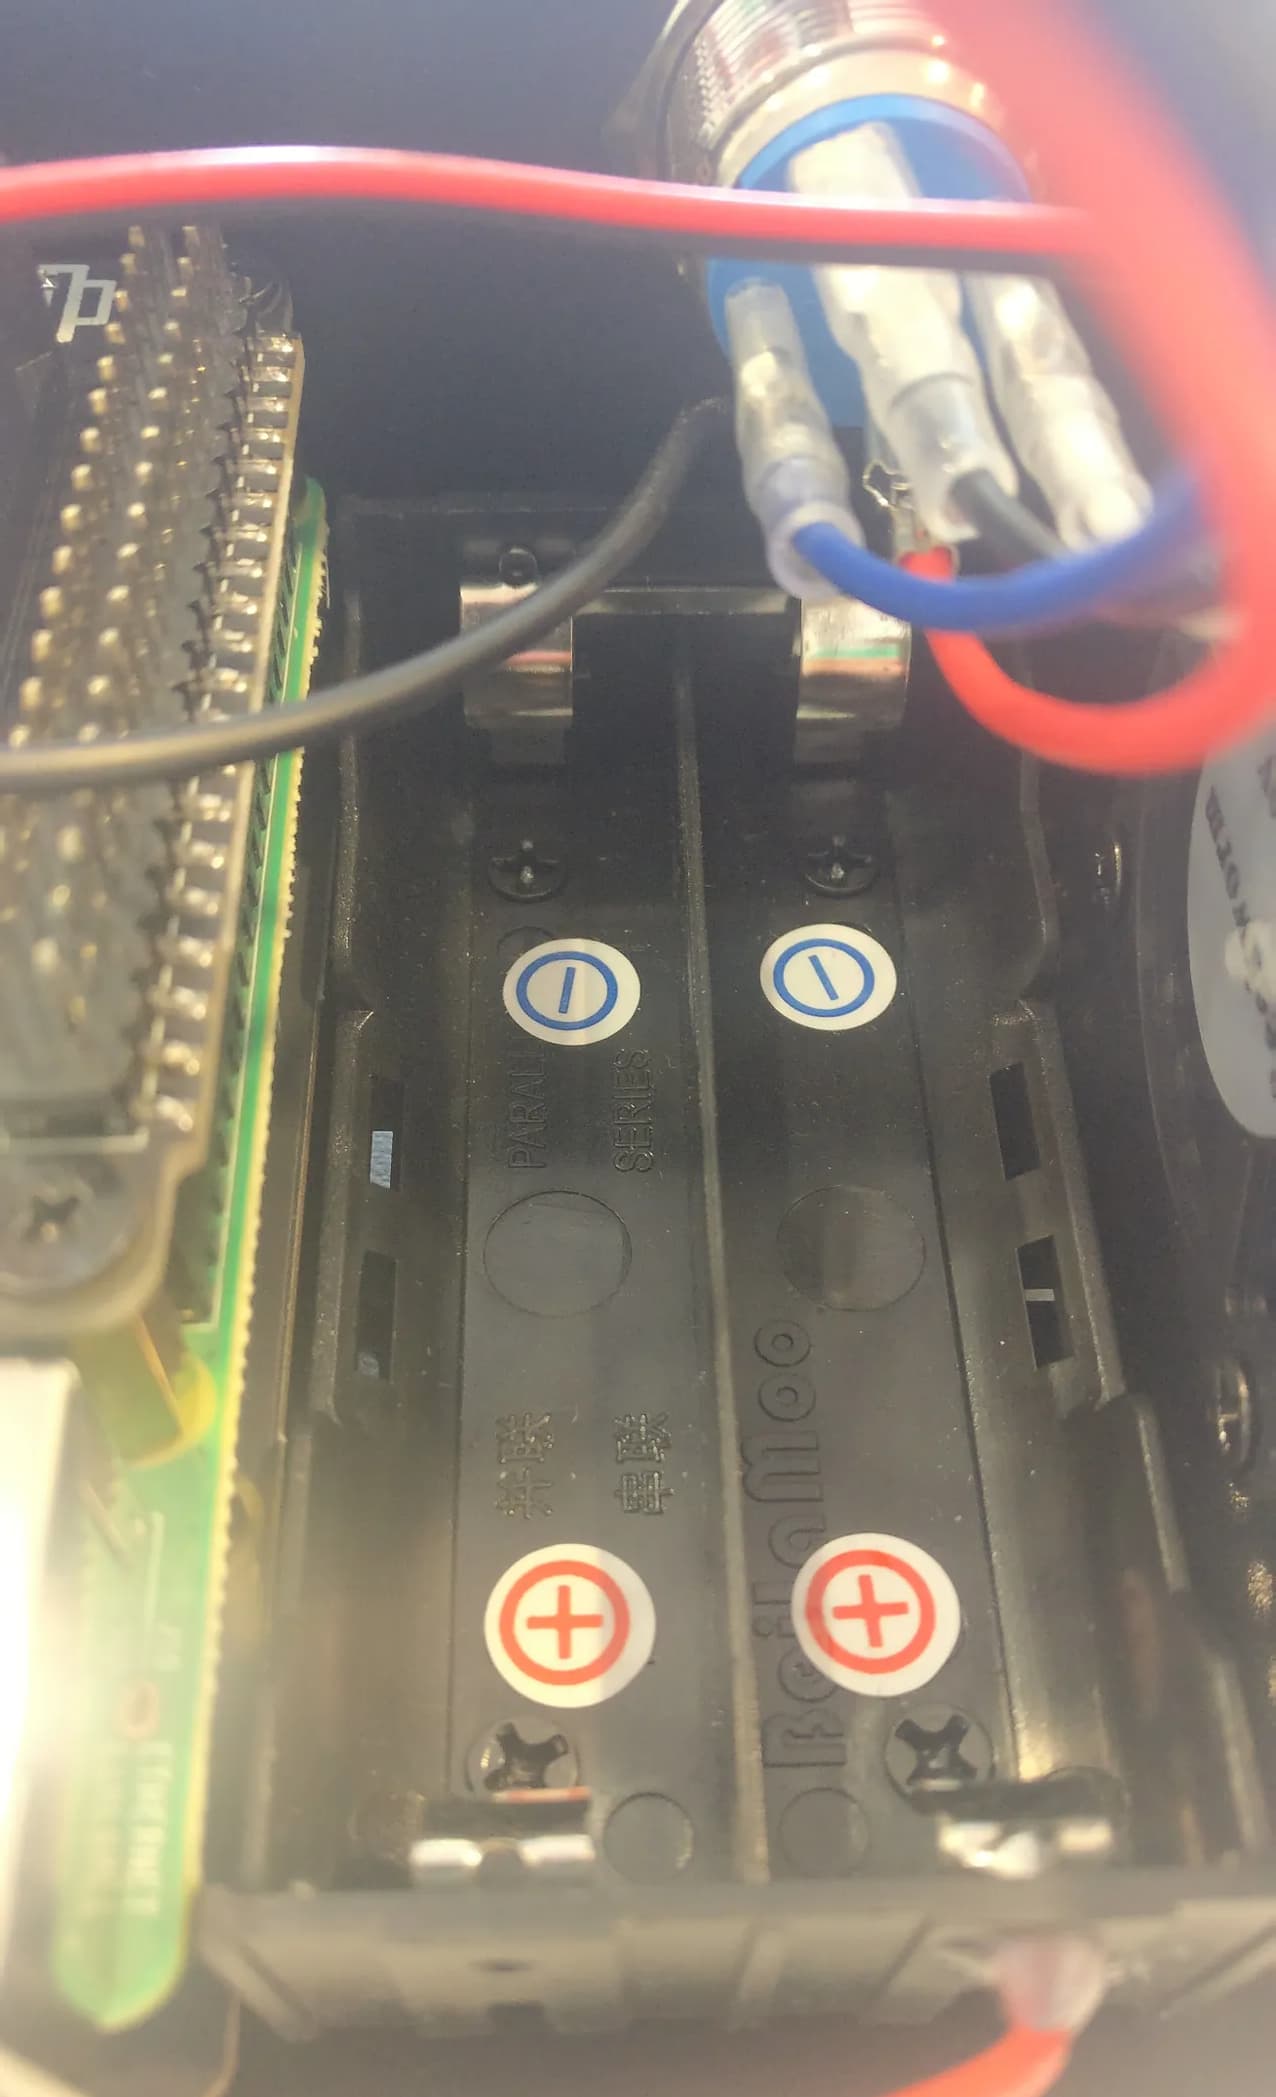
Install the UPS if you are using one, and plug in the power to the respective connector
(See Step 9 for all power connections).
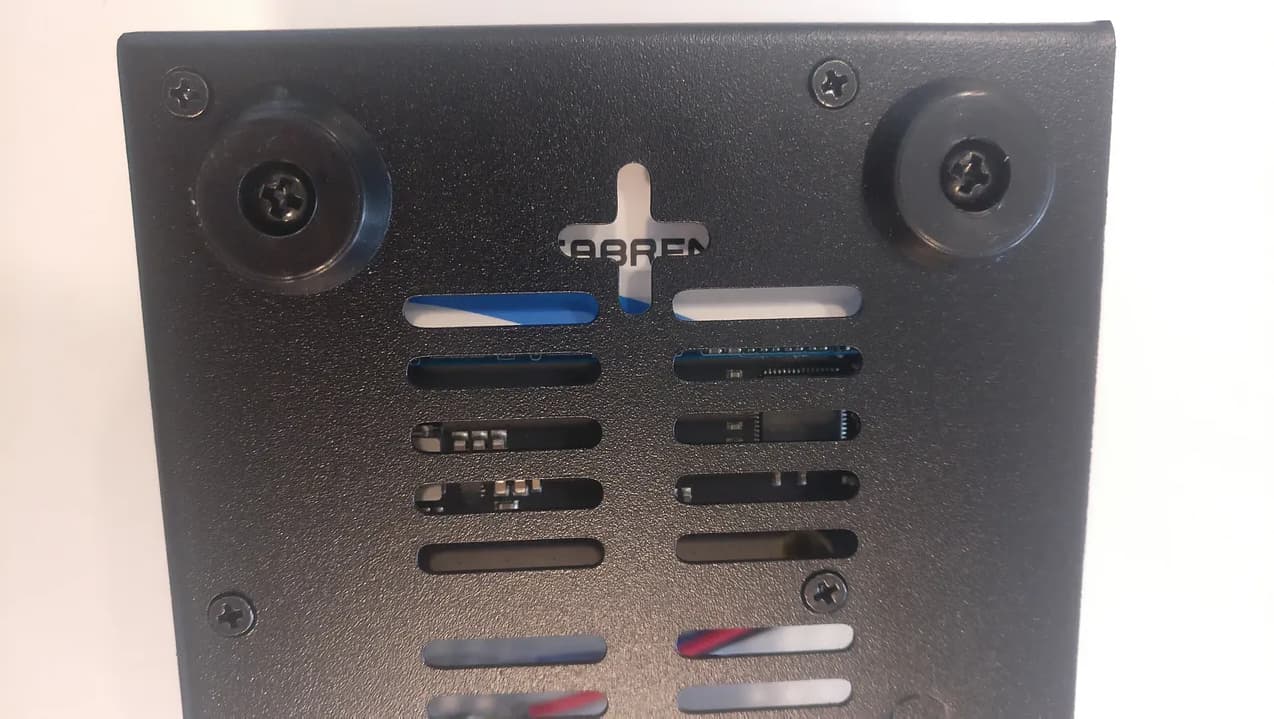
- Batteries (Optional)
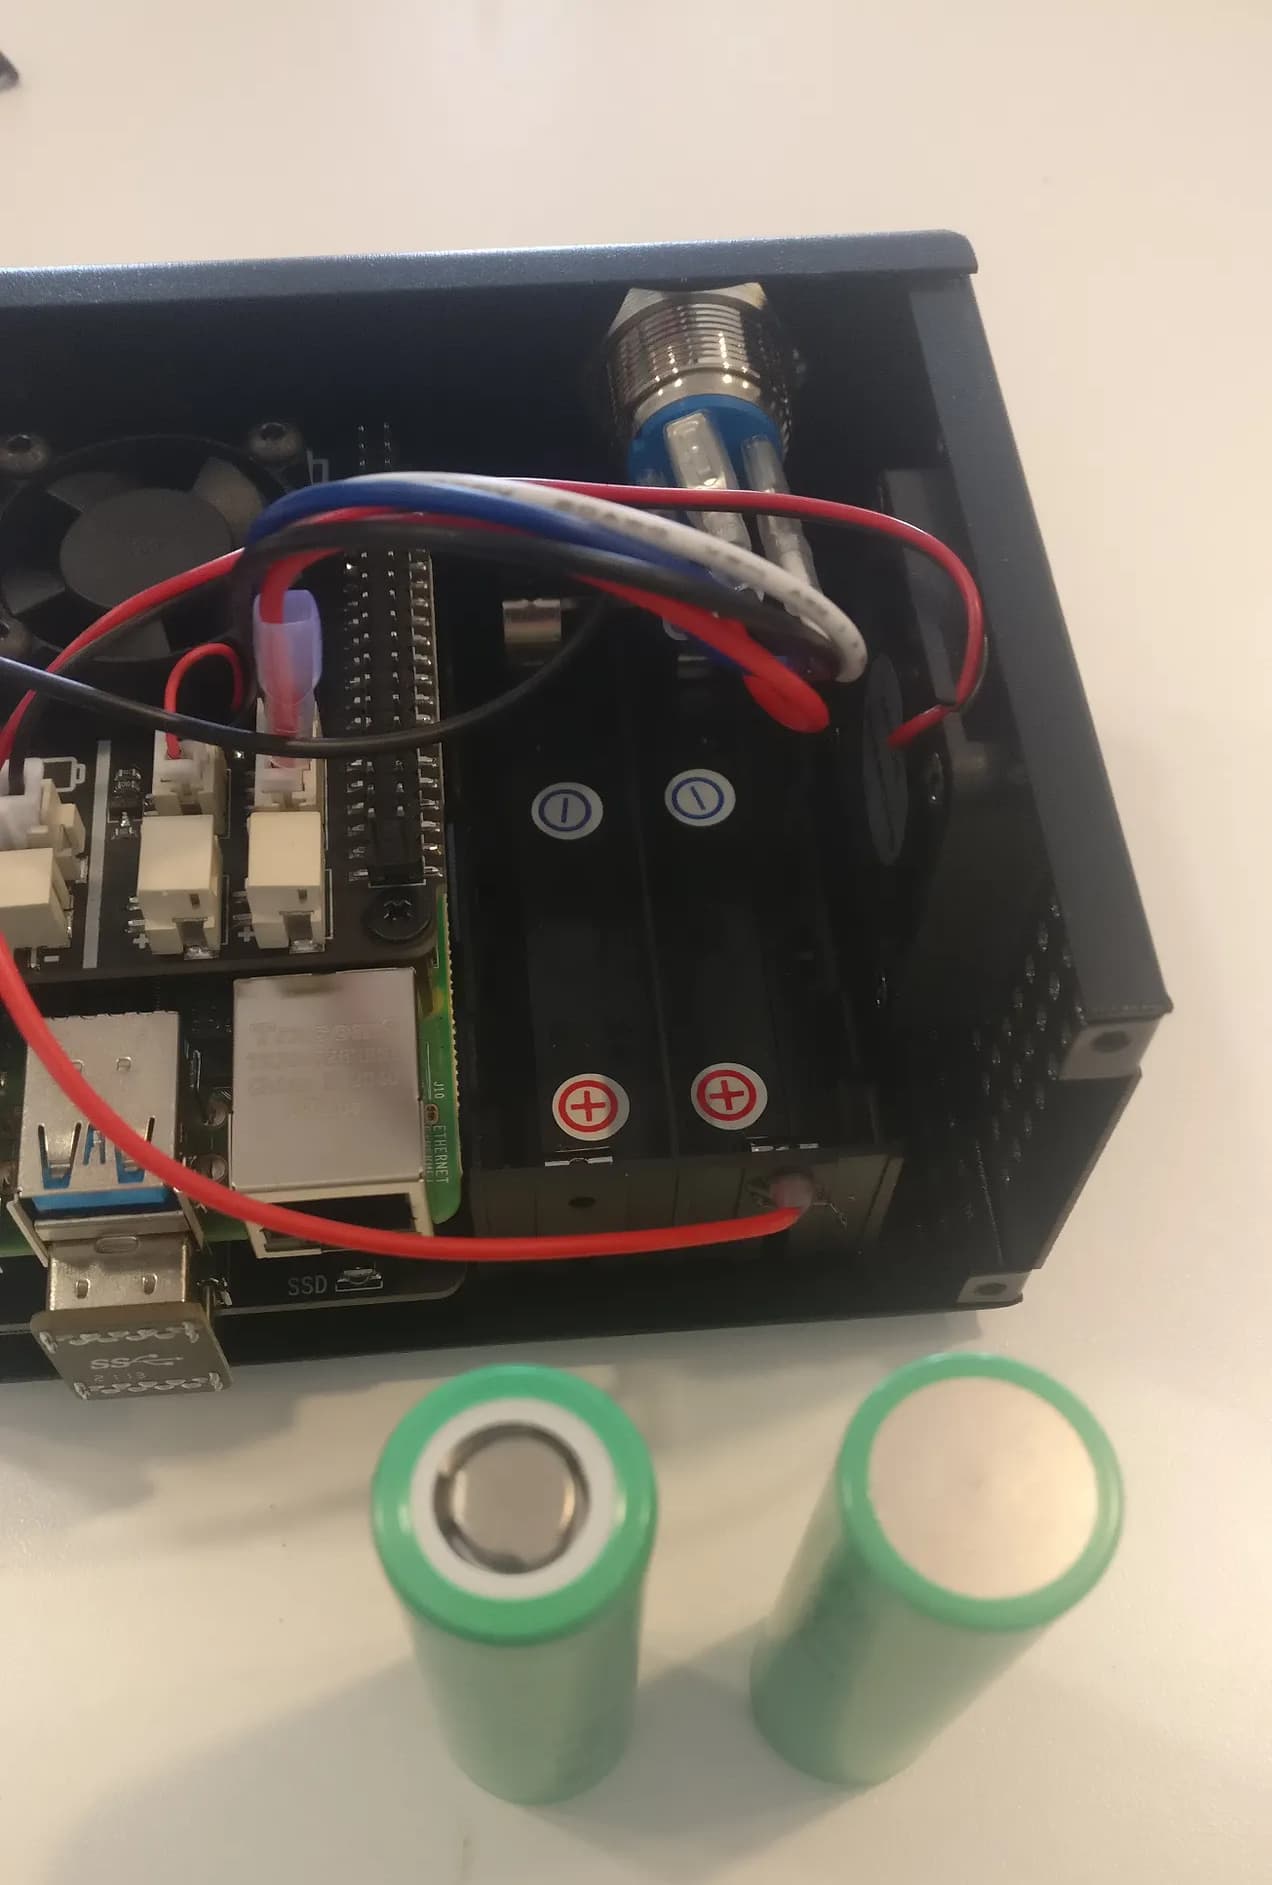
It is important to install the batteries in the correct orientation. Unbelievably, the
batteries I ordered did not label positive/negative. I poked around online for a while
until I was confident that I had sorted it out – positive is the end with the nub, and
negative is completely flat. This is what I had guessed, but wanted to be sure. I’m happy
to report that it has yet to catch fire.

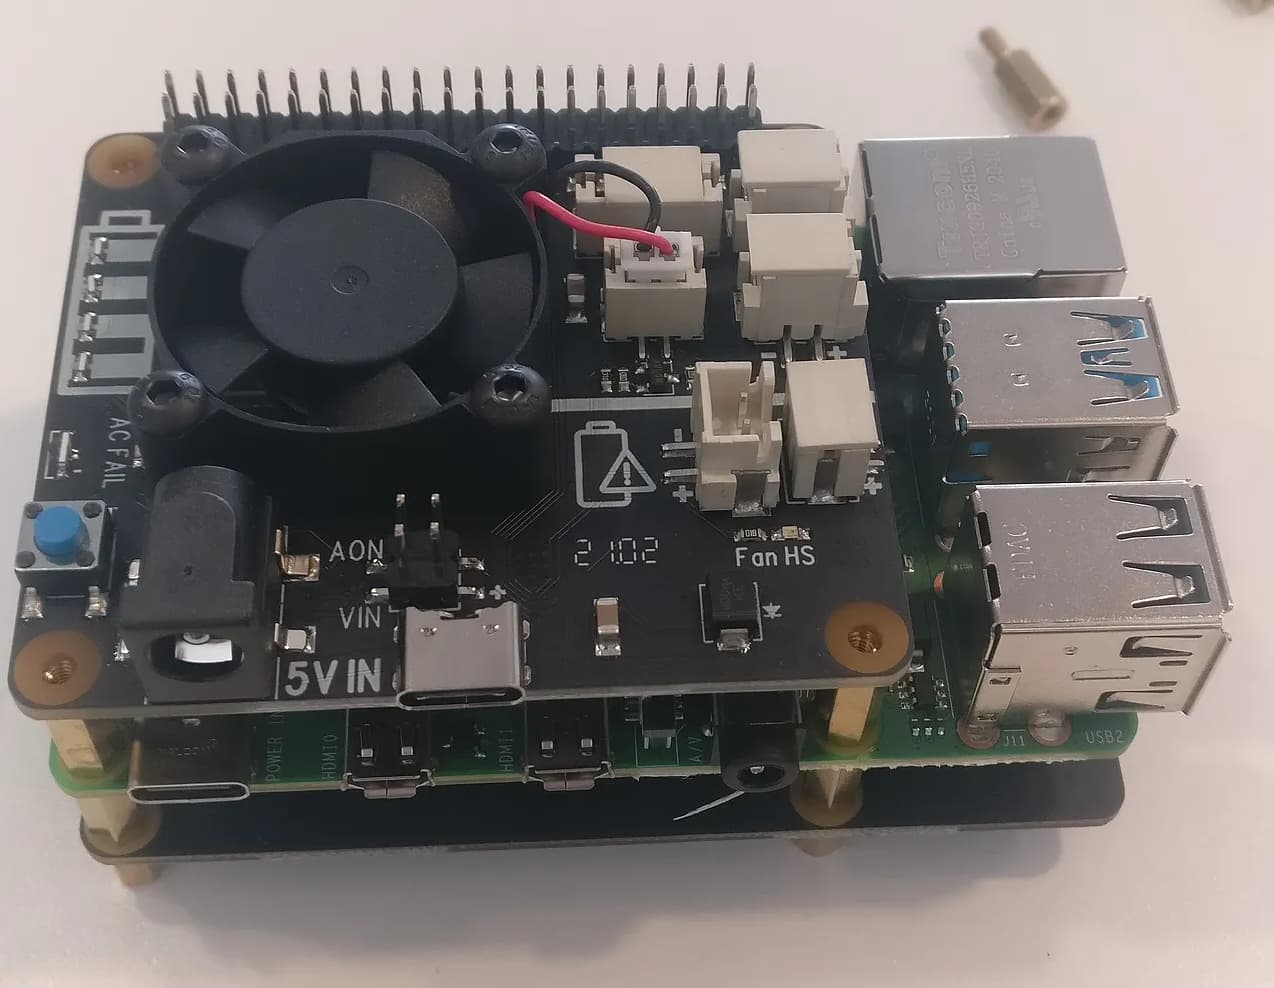
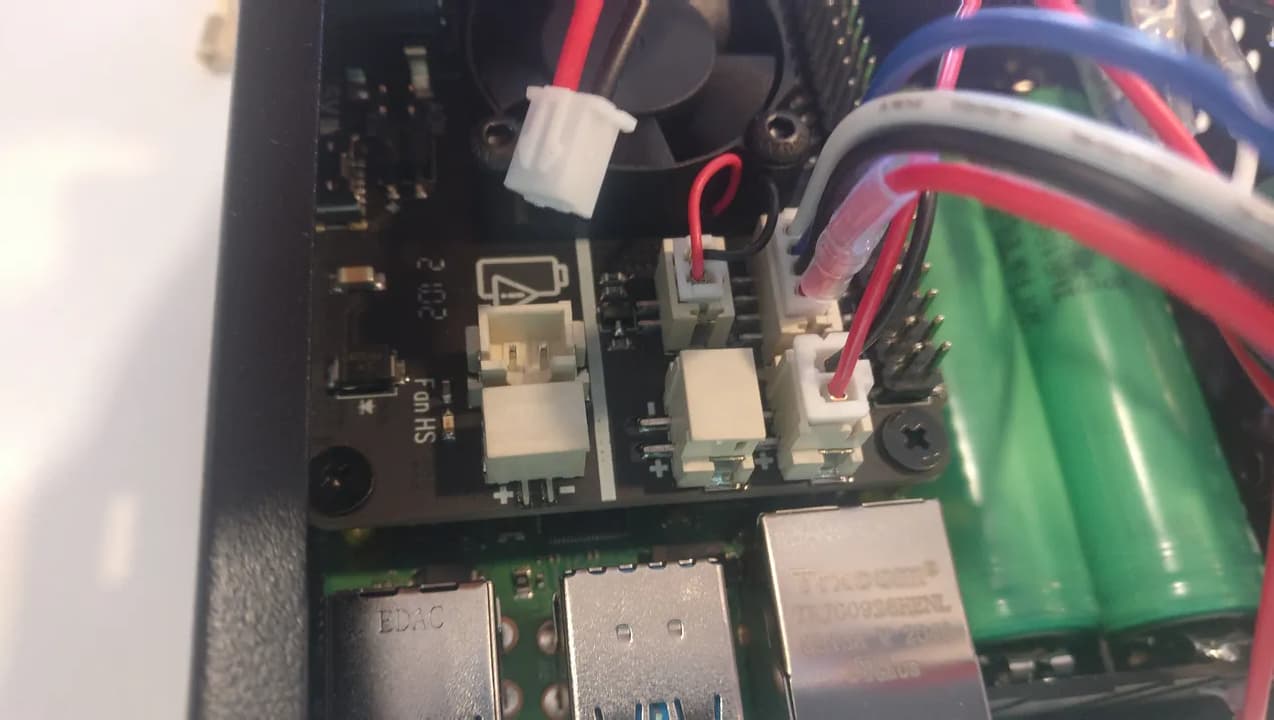
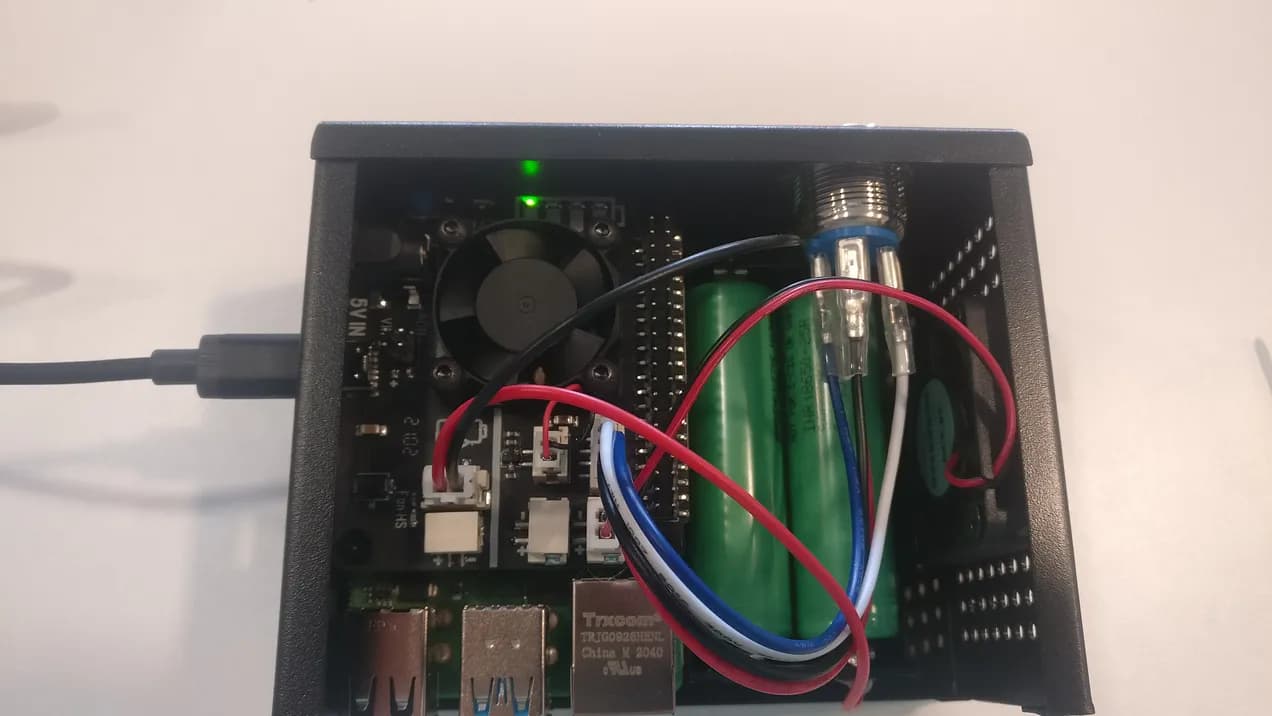
- Connect Power and Speaker
Attach the power button power and fan to their respective connections, keeping in mind
yours will be different if it is not the same Power Management board as the example
shown here (x873). Look up the details for your board online if you are unsure, or ask in
this thread for help.

The speaker goes on the third and fourth pins on the outside of the board. Double check
the image to make sure you have it right, or you won’t get audio feedback. I tucked it toward the outside of the vented case so it’s easy to hear.

- Turn it on!
Plug in your power adapter and press the power button to test. If using a UPS, you will
see the batteries are charging, and if they have some charge, you can pull the plug to
ensure the device remains powered up. To test I also had the USB bridge plugged in, to
connect the SSD. The bridge that came with my kit had a bare board, which I thought
was a bit cheap, it’d be nice if it had a cover.
At this point I like to do a little cable management. I had some spare velcro, but you can
also use the little twist-ties that come with the kit if you don’t have any. If everything
looks good, you can remove the USB bridge, button up the case with 4 screws, then
replace the bridge again.
That’s it! Go ahead and flash embassyOS on your sd card, insert the card, and setup your
new custom Embassy!!