If you want to start developing packages for embassyOS (eOS), you’ll need a running copy of eOS to deploy and test your packages. eOS can be installed in minutes on many pieces of hardware, but if you don’t have a spare laptop or Raspberry Pi laying around you may want to install eOS on a virtual machine (VM) instead.
This tutorial will cover:
- Installing eOS inside a virt-manager VM
- Accessing your eOS instance remotely
- Creating and sideloading a new package (S9PK)
Installing eOS on a VM
- Download and install virt-manager
- Download the embassyOS ISO from Github (v0.3.3 or later)
- Open virt-manager
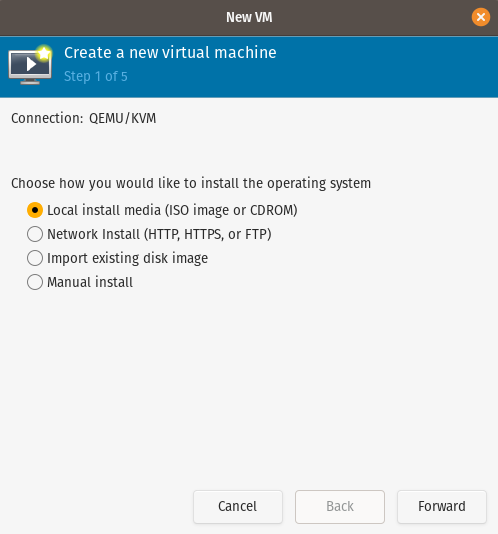
- Click “create a new virtual machine”

- Choose “Local install media” and click Forward
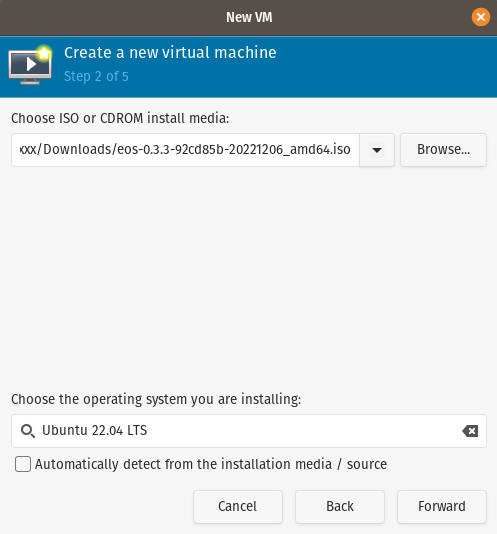
- Click Browse and choose the ISO that you downloaded
- Uncheck “Automatically detect”, and choose Ubuntu 22.04 LTS for your OS. Other versions of Ubuntu will probably work, as well as Generic Linux. Click Forward.
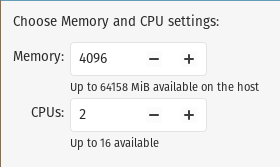
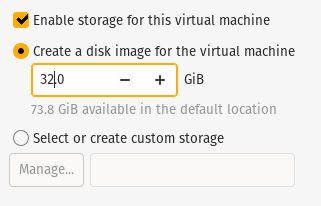
- On the next two pages, choose the resources you would like to allocate.
Minimum OS Requirements
- Single vCPU Core 2Ghz
- 4GB RAM
- 64GB Storage (32GB will also work if you’re just doing package development)
Recommended OS Requirements
If you intend to run Bitcoin or store any meaningful amount of data, you will need
- Quad-Core CPU 2.5Ghz+
- 8GB+ RAM
- 1TB+ Storage
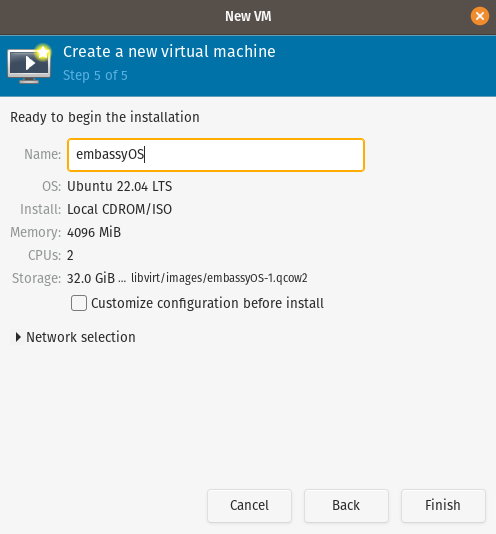
- Give the machine a meaningful name and click Finish
- The VM will open up. Select install embassyOS with your keyboard and hit ENTER
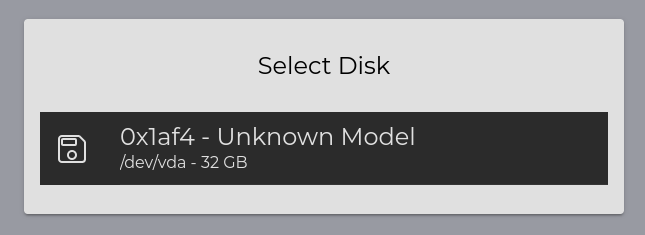
- After a few seconds, a browser window will appear inside the VM. Click the disk (the only disk that will exist is the one you created for the VM) under Select Disk, and then click Install embassyOS.
You will get a warning that you’re about to erase the disk - that’s fine, there’s nothing on it. - You’ll get an Install Success popup. Click Reboot.
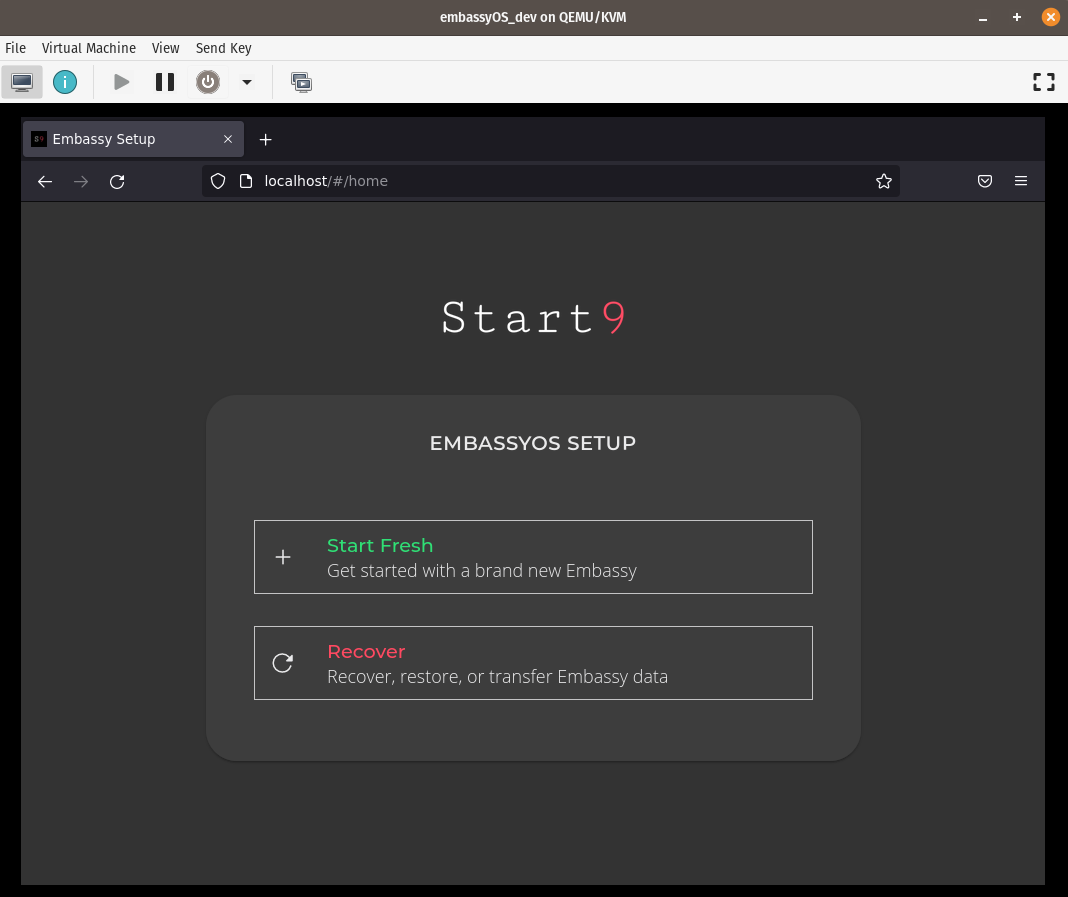
- After the reboot, the browser in the VM will show the setup page. If you’re installing for package development, click Start Fresh.
- Select your only storage drive on the next screen.
- Choose a password and click “Finish”.
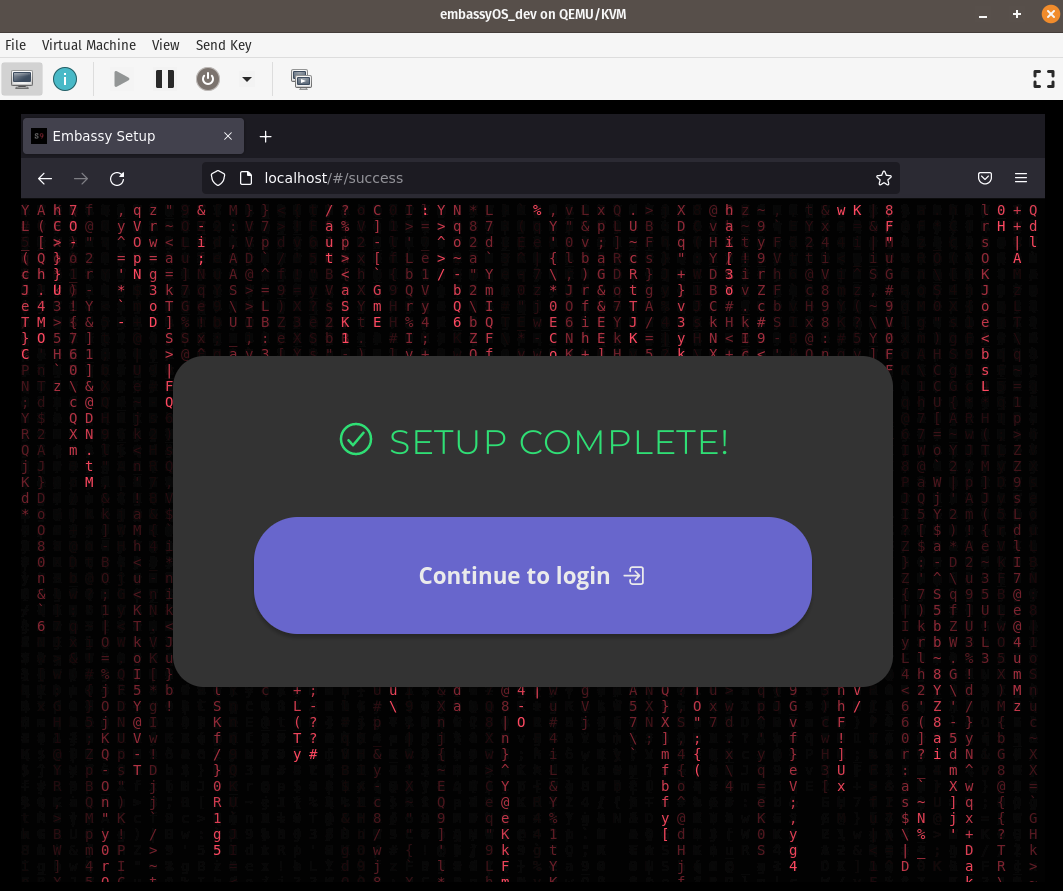
- Success! embassyOS is now installed on your VM. It runs inside a browser window!
Click to login. (You’ll be prompted for your password.)

Problems during install
If you happen to cancel out of the install, it won’t boot the installer again until you do the following:
- Right click the VM and go to
Open - Click the light bulb
 to configure the VM
 - Go to
IDE CDROM 1 - Under
Source Path, click Browse - Under
final, select eos-0.3.x-xxxxxxxx_amd64.iso, and click “Choose Volume” - Click
Apply - Go to
Boot Options - Enable
IDE CDROM 1and position it aboveIDE Disk 1 - Click
Apply
Accessing your eOS instance remotely
So far, you have been accessing your eOS instance in “Kiosk mode”, meaning you’ve been interacting with eOS directly in the VM. However, eOS is designed to be predominantly accessed via a remote browser. Consequently, the easiest way to test S9PKs is to sideload them onto your eOS instance via your host’s browser. This next section will cover connecting to your eOS instance remotely. You can connect over TOR or over LAN, depending on your preference.
Accessing your eOS instance over TOR
No setup required, but your connection may be slow.
- Download and install the TOR browser on your host machine.
- Your eOS instance already has a TOR address. To find it, open your VM, click System in the sidebar, and then click About under Insights. On the About page, find the TOR address.
- Next, you’ll need to copy that TOR address and paste it in your host’s TOR browser.
Copying and pasting between VM and host will not work by default. To accomplish this, you could set up virt-manager to share your host’s clipboard. However, this process takes several steps and is highly dependent on your host machine’s configuration, so I won’t be covering it in this tutorial.
A faster option is to use CL1P.NET. CL1P.NET is a website that acts like a clipboard; see link for instructions.
(NOTE: CLIP.NET should never be used for private or sensitive info, and should never be used to copy the TOR address of an eOS instance that contains private data. However, if this eOS instance is ONLY for package testing and contains nothing personal, then it’s a fine option.)
Accessing your eOS instance over LAN
Several additional steps are required, but your connection speed will be as fast as possible.
- Open your VM and log into eOS
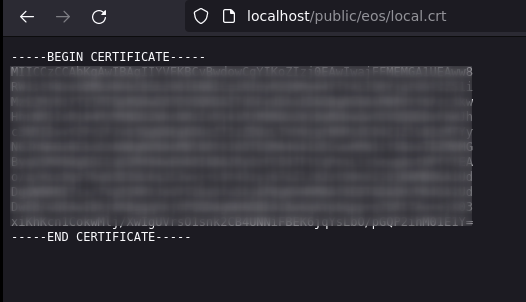
- Open a new tab in your VM’s browser. Navigate to
localhost/public/eos/local.crt
Your .crt file should show up in the browser, and should look something like this:
This is the local connection certificate that you will be adding to your host to create a trusted connection. Normally you’d - First, you’ll need to copy the entire contents of the .crt file and paste it in a new file on your host.
Copying and pasting between VM and host will not work by default. To accomplish this, you could set up virt-manager to share your host’s clipboard. However, this process takes several steps and is highly dependent on your host machine’s configuration, so I won’t be covering it in this tutorial.
A faster option is to use CL1P.NET. CL1P.NET is a website that acts like a clipboard; see link for instructions.
(NOTE: CLIP.NET should never be used for private or sensitive info, and should never be used to copy the TOR address of an eOS instance that contains private data. However, if this eOS instance is ONLY for package testing and contains nothing personal, then it’s a fine option.)
- Create a new file on your host, name it
local.crt, paste the content, and save it. - Now that
local.crtis on your host, follow these instructions to add the certificate to your host’s browser. - Once your certificate has been trusted, open your VM and click System in the sidebar, and then click About under Insights. On the About page, find the LAN address. It should look something like
https://embassy-abc-def.local/ - Open a browser on your host and navigate to that LAN address. You should be able to log in to eOS via this remote browser just as you have been logging in via the VM. This is the browser you’ll use to sideload S9PKs.
Packaging services (creating S9PKs) and testing them
Now that you can access eOS in a remote browser, it’s time to make a package.
- To begin package development, follow this guide.
- Once you’ve created an S9PK that you’d like to test, you’ll need to log into your eOS instance in your host’s browser, and click Sideload Service under Manage.
- Next, upload the .S9PK by dragging and dropping or clicking browse, and click “Upload & Install”.
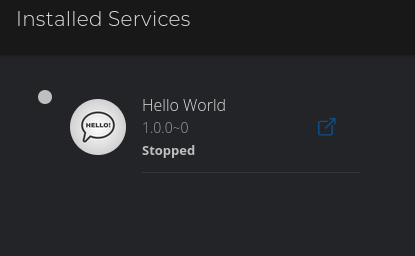
- After a few minutes, your S9PK should finish installing, and should be displayed on the services page:
From here, you can start, stop, and uninstall your new service at will.